
My friends and relatives have always referred to me as a “pet whisperer” or “pet guru”. Although I have ample experience caring for different kinds of animals, I would tell them every time that I was simply a pet lover.
The most common question they would ask was, “What is the best pet for a beginner?” Dogs and cats are the most popular companion animals chosen by beginners, but given the huge amount of responsibility and time required to care for them, I wouldn’t really say that they are beginner-friendly. Based on my knowledge in caring for animals of different species, I trimmed down my pick between an aquarium fish and a hamster. After weighing the pros and cons further, the number one choice I picked for beginners was the hamster.
Wanna care for a hamster?
Here are some of the reasons that make the hamster the perfect first companion animal:
1. Ease of maintenance
2. Low cost of care
3. Effortless interaction
4. Small space requirement
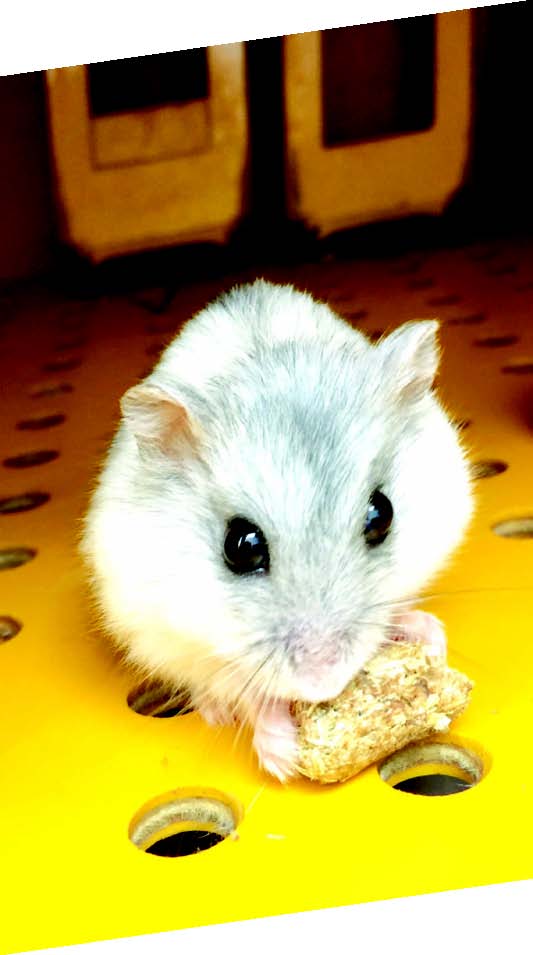
Getting to know the hamster
Hamsters are solitary animals and do not require social encounters with their own kind. They are fine on their own and can live happily interacting only with their human. Given that they value their personal space, hamsters need only a small living area, with accessories, such as an exercise wheel and a hamster ball to keep them active and happy.
A hamster’s home
There is a huge variety of designs for commercially available hamster housings or enclosures. Designs evolve so fast that I thought about jumping on the DIY bandwagon. Well, it didn’t really take long for me to decide – I started working on building a hamster home right away.
When designing, I always focus on the ease of maintenance, the needs of the inhabitant, and durability of the items. The costs will depend entirely on the materials you use; your DIY hamster home can be as cheap or expensive as you want it to be.
Here are some things to consider when building a hamster home.
1. Air circulation – Proper ventilation is a must since hamsters are prone to heat stroke.
2. Safety – Since most enclosures are small, the base of the cage should be strong and not easily dislocated.
3. Placement of door openings – The door’s location is important for cleaning, feeding, and replacing drinking water.
Built-in or separate accessories?
I like separating accessories because of the wide range of products available. It’s more fun to explore design options that way. Then again, built in accessories are nice for beginners who just like to have a simpler setup.
Commercial hamster enclosures or DIY?
1. Commercial enclosures

A. Advantages – The top area of a commercial hamster enclosure is generally made of a paint-coated metal grill, while the lower area is made of plastic, usually because of its non-porous property. Hamster urine cannot penetrate the plastic, which makes it easier to clean and prevent bacteria and ammonia build-up. Many sizes are available, with two to three-storey levels. One cannot complain about their prices because they are inexpensive and come in plenty of designs.
B. Disadvantages – Some pet lovers do not like the grill design. The grill portion and plastic base are not easy to detach and reattach. Plastic bases that are available commercially are not durable enough to last long.
2. DIY enclosures
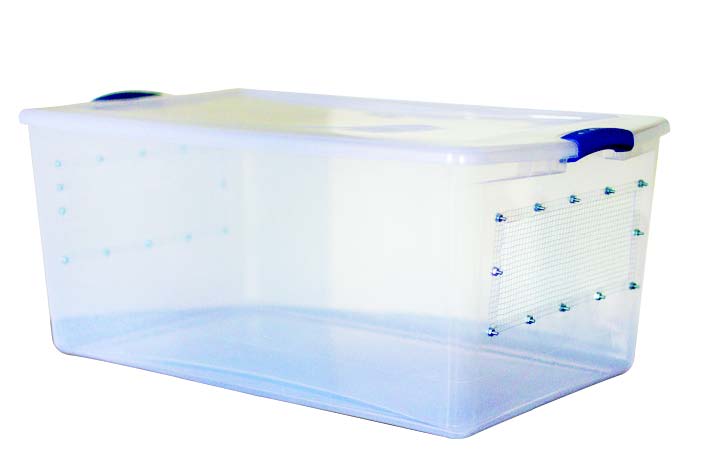
These are small-to-medium-sized plastic container bins which are available in supermarkets and hardware stores. Normally, these are used for storing various items. People caring for multiple hamsters are the main patrons for these DIY hamster bins.
A. Advantages – The plastic material used in a DIY hamster bin is more durable than commercial enclosures. They are easily stackable and cleaning is also more manageable since most of their surface is made of plastic. DIY hamster bins have a straightforward design. Additionally, the price is reasonable based on the size and brand of the plasticware.
B. Disadvantages – They are not aesthetically pleasing as their colors are limited. The plastic surface also gives a dull appearance. If the wired grills are not attached properly, the hamster might bite the plastic edges, which may pose a choking or swallowing hazard.
Designing a hamster home
I decided to make two enclosures and used fiberglass materials for both.
My first design had a basic front and top view with the opening on top. Holes were provided on the side for ventilation. Commercial accessories and beddings were used. My objective for solving the issues of the DIY bins were improving their aesthetic appearance and making them more durable.
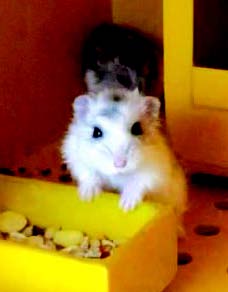
My second design was more complicated. The hamster could only be viewed from the front as the door opening also served as the viewing window. The floors had holes that served as position markers for DIY accessories. There was a waste tray below, where bedding or absorbent material could be placed.

I also designed accessories, such as bathrooms, feeders, drinkers, and a customized exercise wheel. They all worked well, except for the wheel except for the wheel, which I thought was too heavy because of the material I used. Built-in fans and LED lights were also installed.
I was satisfied with both my designs and tried them for Syrian, Campbell, and Roborovski hamsters, all of which seemed to love their new homes. I recently constructed a 36×24 inch enclosure for a small Roborovski hamster community that I was contemplating to care for.
One of my primary goals for my beloved companion animals is to continuously find ways to make them live more comfortably. My small arsenal of ideas and simple fiberglass-making skills make my goals easier to achieve. I look forward to finding more ways to make our companion animals happier and healthier.
This appeared in Animal Scene magazine’s October 2019 issue.
Related stories:
– Hamsters: A short introduction
– Bulacan Hamster Owners Society’s 1st Grand Assembly
– A sitter for your critter: The benefits of pet sitting


